
BSL-3 Room Airtightness Testing: The Pressure Decay Method
A high-containment laboratory has to be tight enough that air only moves where the ventilation design sends it, and that the room can be sealed for gaseous decontamination. Airtightness is proven by pressurising the sealed room and measuring how quickly the pressure decays. This guide explains how the test is set up, what affects the result and how to find leaks.
- The room is sealed at its ventilation dampers, pressurised (or depressurised) and the pressure decay over a fixed time is recorded.
- Acceptance criteria depend on the standard and containment level; many are expressed as a starting pressure of about 500 Pa and an allowed decay over 20 minutes.
- Temperature changes during the test move the pressure as much as leaks do; stabilise and record temperature.
- Typical leak points are doors, pass boxes, penetrations for pipes, cables and ducts, light fittings and wall-to-ceiling joints.
- Test after construction, after any change to the envelope, and at the interval your standard and risk assessment require.
Why airtightness matters
Containment laboratories rely on directional airflow: air flows into the laboratory and is exhausted through HEPA filters, so aerosols cannot escape. An envelope that leaks lets air bypass that path when pressures change, and makes negative pressure hard to hold. The room also has to be sealable for gaseous decontamination with formaldehyde, chlorine dioxide or vaporized hydrogen peroxide. The higher the containment level, the tighter the requirement.
Requirements differ by country and level. BSL-3 rooms in some standards need only to be sealable for decontamination; BSL-4 and some animal BSL-3 facilities require a quantified pressure decay test. Check the standard that applies — for example China’s GB 19489 and GB 50346, the Canadian Biosafety Standard, or WHO and national guidance.
How the test works
The sealed room is a fixed volume of air. If it is pressurised and then isolated, the pressure falls as air leaks out. The faster the decay, the larger the leaks.
- Seal the room. Close the bubble-tight dampers on supply and exhaust, close and lock doors, and seal any openings that are not part of the envelope under test, such as drain traps that are not water-filled.
- Connect the test equipment. A fan or compressed air source with a valve, and a calibrated differential pressure gauge reading the room against a stable reference outside it.
- Pressurise. Bring the room to the test pressure — for many high-containment criteria about 500 Pa, positive or negative — and close the valve.
- Stabilise. Wait for the reading to settle after the air movement stops.
- Measure. Record pressure at regular intervals over the test period, commonly 20 minutes, together with room temperature.
- Evaluate. Compare the decay with the acceptance criterion. Repeat in the other direction if the standard requires it.
Acceptance criteria
Criteria are written in different ways: a maximum pressure drop over a fixed time from a fixed starting pressure, or a maximum leakage flow at a test pressure. A common form for the highest containment levels is a decay from about 500 Pa of no more than half the starting pressure in 20 minutes. Use the exact criterion in the standard and project specification, and write it into the test protocol before testing.
What affects the result
- Temperature. Air pressure changes with temperature. In a sealed room, a small temperature rise can raise the pressure enough to mask a leak; a fall can make a tight room fail. Avoid testing while the HVAC is cycling, lights have just been switched on, or sun is heating an external wall.
- Flexible surfaces. Large panels, ceilings and doors deflect under pressure and change the volume during the first minutes. Stabilise before measuring.
- Wind and building pressure. The reference outside the room must be stable; take it from a sheltered point.
- Gauge resolution. The instrument must read clearly within the allowed drop.
Finding leaks
When a room fails, hold it at test pressure and search the envelope:
- Smoke or a soap solution at joints and penetrations.
- Ultrasonic leak detectors for small, high-velocity leaks.
- Tracer gas for leaks that cannot be reached directly.
| Typical leak point | What to check |
|---|---|
| Doors | Seal condition, inflatable seal pressure, frame-to-wall joint |
| Pass boxes and hatches | Door seals and the frame-to-wall sealing |
| Service penetrations | Pipes, cables, conduits and sensors through walls and ceiling |
| Ductwork connections | Dampers, filter housings and the duct-to-wall joint |
| Ceiling and lighting | Light fittings, access panels, wall-to-ceiling joints |
| Electrical fittings | Sockets, switches and their back boxes |
Fix the leak, allow sealants to cure, and repeat the whole test. Record each leak found and how it was repaired.
When to test
- At commissioning, after construction is complete and before validation of decontamination.
- After any modification that affects the envelope — new penetrations, replaced doors, ceiling work.
- Periodically, at the interval required by the standard and the facility’s risk assessment.
The same principle — absolute pressure change in a fixed volume, corrected for temperature — is used for isolators; see the isolator leak rate calculator. Components designed for the envelope are covered in biosafety airtight doors and biosafety isolation dampers.
References
GB 19489, Laboratories — General requirements for biosafety
GB 50346, Architectural and technical code for biosafety laboratories
Canadian Biosafety Standard, third edition
WHO Laboratory Biosafety Manual, fourth edition
Fenggu equipment for this
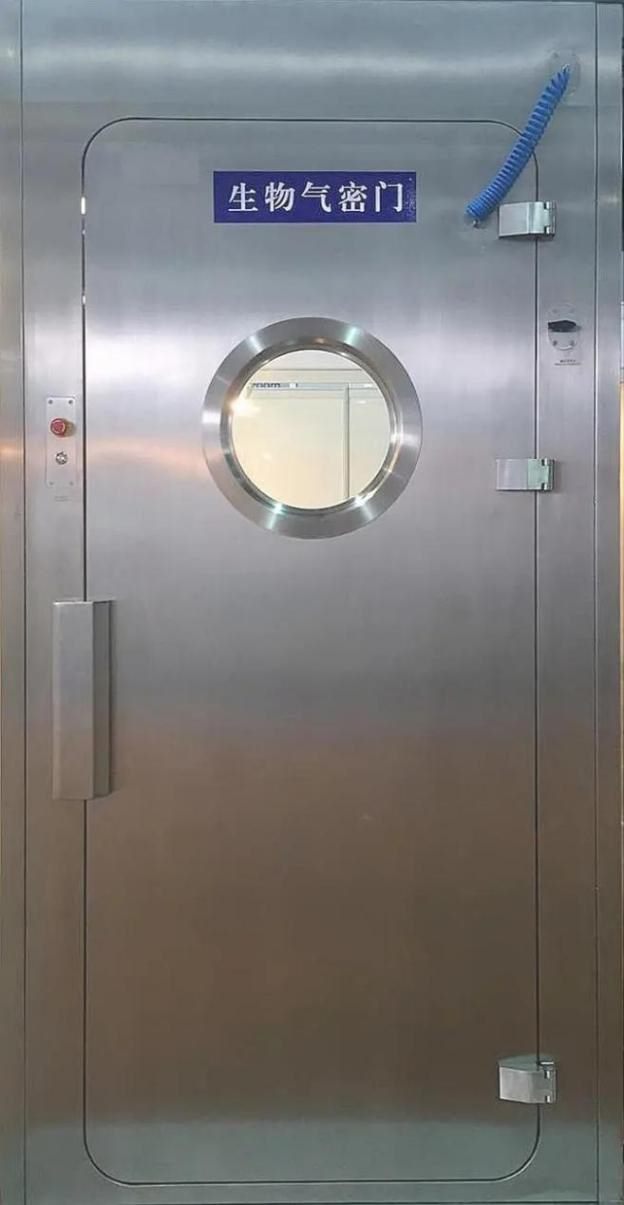
Inflatable seal airtight door
Airtight door with inflatable seal for containment and decontamination rooms.
View specifications →FG-LOCK-BCVBiosafety isolation damper
Bubble-tight damper that isolates supply and exhaust ducts for room sealing and decontamination.
View specifications →FG-PB-BIOBiosafety airtight pass box
Airtight transfer hatch for moving items in and out of containment areas.
View specifications →Related application guides: Biosafety laboratory decontamination · Cleanroom and room decontamination
Common questions
How is a BSL-3 room tested for airtightness?
The room is sealed at its dampers and doors, pressurised or depressurised to a test pressure, and the pressure decay over a fixed time is recorded and compared with the criterion in the applicable standard.
What pressure is used for a room pressure decay test?
Many high-containment criteria use a starting pressure of about 500 Pa. The exact value, direction and time come from the applicable standard and project specification.
Why does temperature affect the test?
Air in a sealed room changes pressure with temperature. A small temperature change during the test can move the reading as much as a leak, so the room should be stable and temperature recorded.
Where do containment rooms usually leak?
At doors, pass boxes, pipe and cable penetrations, duct connections, light fittings, access panels and wall-to-ceiling joints.
When should the test be repeated?
After any change to the room envelope and periodically at the interval set by the applicable standard and risk assessment.
Have a specific space or load in mind?
Send the volume, the materials and what you need to prove. An engineer replies with a recommended setup and what validation will involve.
Prefer to talk directly?
WhatsApp +86 183 2145 9135[email protected]